My latest obsession has been making jewellery using wire and beads, so my next step was to….. make my own jewellery box (well, decorate a box I bought!). These are the materials I used:
- Wooden box from the Works
- Wrapping paper
- PVA glue
- Felt
- Varnish/Sealant (optional).
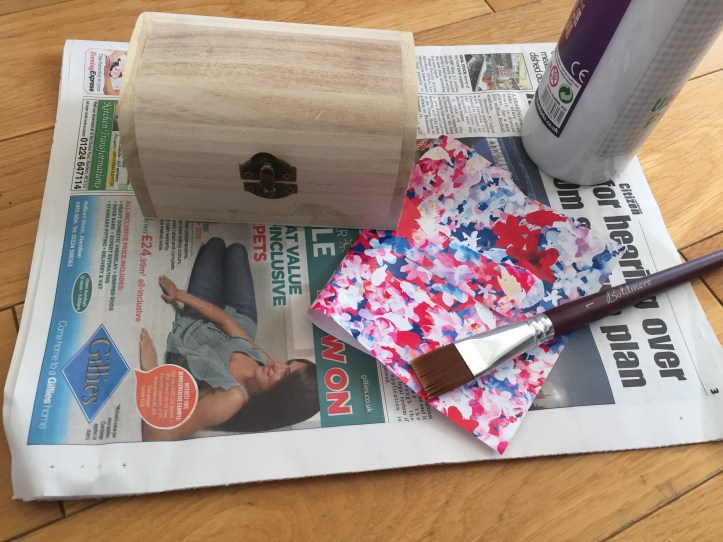
The first step was to rip up lots of pieces of paper so that each piece was around the same size as a stamp. Then it was just a matter of using PVA glue to stick them onto the box, then pasting a layer of glue on top of each piece after it was stuck down. If you google 'decoupage' all the results will tell you Mod Podge is the best glue to use for decoupage, but PVA is just as good and a fraction of the price. I put the paper on randomly – not following a pattern at all and am quite happy with the affect.
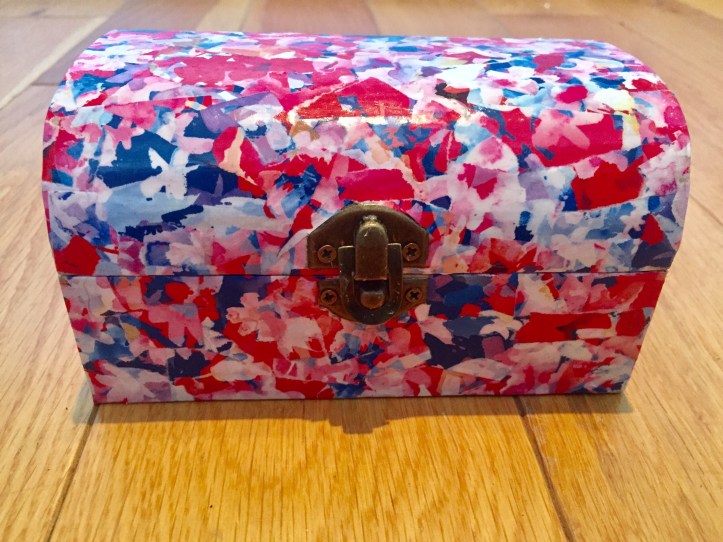
Once I'd covered the whole box and the glue was dry I checked carefully that all the paper was stuck down properly and then left it to dry. As soon as it was dry I put on a couple of layers of sealant just to protect it when using it; I used a satin finish one, but there's lots of choice of different ones including gloss, matte and glitter. The last stage was to add some felt to the inside, and my jewellery box was complete!
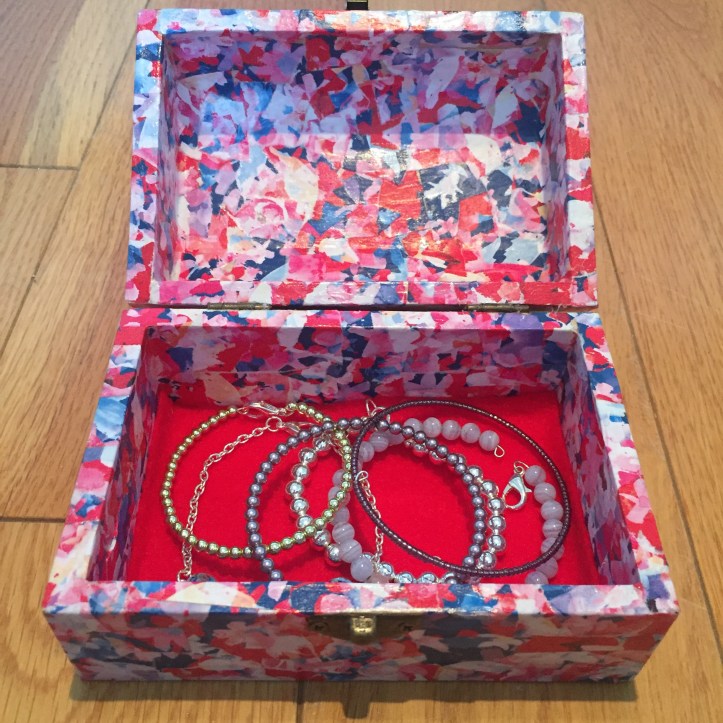
It was relatively inexpensive and easy to do, so I think I'll definitely try this again. (Not to mention very satisfying when I dry PVA glue off my hands!)
