This weekend I decided to try candle making – because it’s not as if I don’t already have more than enough craft supplies already, is it?
A trip to Hobbycraft later and I had the supplied I needed – wax, dye and wicks. I had already decided to use some empty jam jars to hold the candle. A Google search for ‘soy candle making’ brings up lots of different blogs and websites giving instructions and tips on candle making.
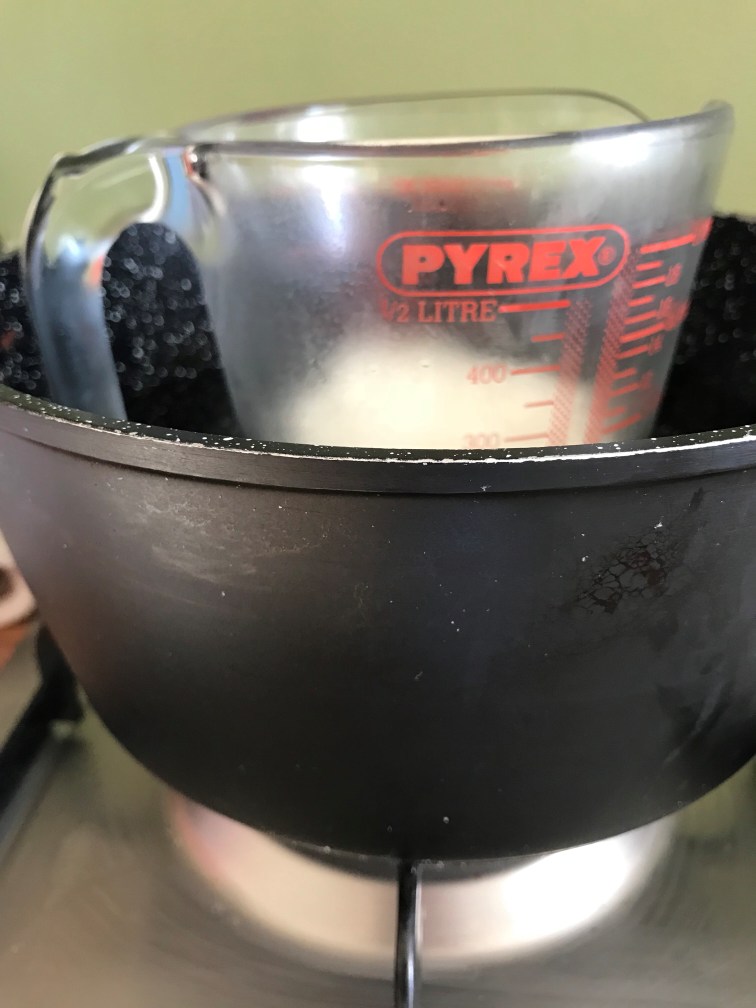
Being honest, I didn’t follow all of the instructions exactly, but it was useful to know how much wax to use, dying the wax and adding essential oils; not to mention the best method to melt the wax. Some websites suggest melting the wax in a microwave, and others suggest using a pan; I tried both methods and they seemed to both be effective, although the microwave was faster. However, while using a pan did make the process longer it was actually quite relaxing stirring the melting wax and waiting for it to be ready for the next step, and in the future I’ll probably use this method.
Once the wax was melted, I wanted to add some essential oils and after looking into which ones can be used and in what combination, I settled on Bergamot, Rosemary, Lavender and Rose. After mixing them together I poured them in to the melted wax once it had cooled to 140 degrees Fahrenheit. It’s worth noting that you need to add quite a lot of oils so that the scent is detectable; for one candle I added about 8ml of oils (in total) to 100ml of melted wax. If you’re adding dye, you can also add it at this stage and stir with a metal rod or fork to ensure even distribution.
The wicks that I bought were ready to use so I didn’t need to dip the whole thing in wax to coat it, I just dipped the base of it in the melted wax then put it in the holder I was using, leaving it to dry for a few minutes to keep it secure. I then wrapped the top of the wick around a pencil and rested it on the top of the jar to keep it secure. Instead of this method you can also use glue dots to secure the wick.
The final step was to add the wax! I left the wax to set for a couple of hours, as my candles were quite small. Of course if you’re doing two colours you’ll need to leave one to set before adding the other.


There are ways you can decorate your candles even further – Pinterest is full of ideas, such as adding dried flowers. I decided to add some glitter to the top; however it’s important to remember that craft glitter wouldn’t be suitable due to the flame and also hot wax. Some craft blogs suggested face/body glitter, and I think you can also get glitter that is specifically made for using in candles. The glitter I used was cosmetic, and extremely fine, more like a dust; I just added a very small amount to the top.

After I’d made my first candle, I made another one – this time without any oils but added some purple dye. Each of the candles I’ve included here are made from 100ml of wax

I used soya wax as it burns clearer and there isn’t a soot in the same way there is with paraffin wax. And, as it comes from soya beans, they are completely natural and don’t contain any petroleum, meaning they don’t release CO2 into the atmosphere.
I’m really please with how my first attempts turned out, and I’m definitely going to try to learn more about candle making and experiment with it. It’s definitely a lot simpler than I thought it would be, and a cost effective way to make candles for yourself or as gifts – they can be personalised to incorporate favourite colours or scents, and the containers can be as simple or as quirky as you want.

This is just my experience, and as I’m just dipping my toes into the world of candle making I highly recommend getting some advice from the experts! These are a couple of websites that I found particularly useful, but I’m sure there’s a lot more out there.
Supplies that I used:
- Soya wax
- Wicks
- Jam jars, or any other glass or metal container
- Scales
- Measuring jug
- Pencil
- Dye
- Essential oils
